
This fresh milled sourdough bread is soft, mild, and perfect for everyday use. Made with spelt, rye, and hard white wheat, it’s a nourishing loaf that fits easily into a busy schedule with an overnight proof.
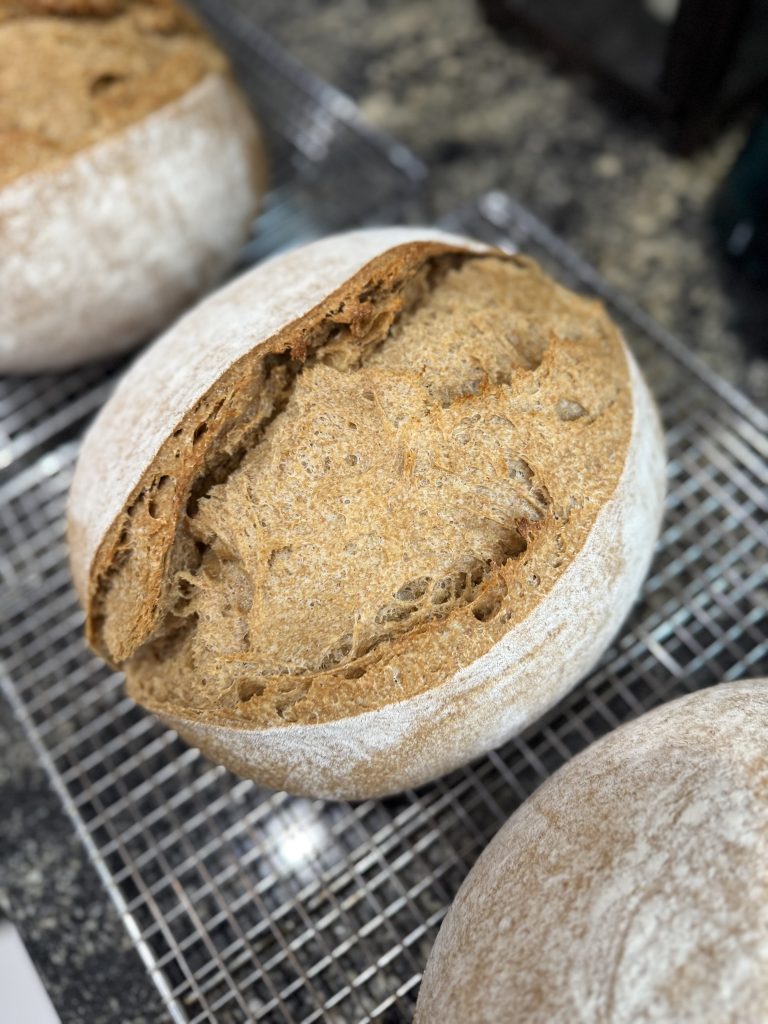
This particular bread has become a Scott Flock favorite because of its softness and mild flavor. It is also the bread I bring most often when sharing a meal with others. It includes the freshly milled ancient grains spelt and rye, in addition to the modern variety hard white wheat. I love that this loaf combines freshly milled ancient grains with modern wheat to create a bread that is both flavorful and very approachable.
Equipment You Will Need:
- Grain Mill
- Stand Mixer
- Proofing Basket of some kind lined with a kitchen towel
- Dutch Oven
- Parchment Paper
- Razor or Knife for scoring
Ingredients You Will Need:
- 100g Fresh Milled Rye
- 200g Fresh Milled Spelt
- 200g Fresh Milled Hard White Wheat
- 400g Water
- 50g Olive Oil
- 25g Sucanat (or Cane Sugar)
- 25-50g Active Sourdough Starter (see notes below in step 3 about the amount to use and why)
- 12g of salt
My Process:
Step 1 – Mix the Dough
I usually start this process before going to bed because I plan to proof my dough overnight. Start with doing what I call a “rough mix.” I place my mixing bowl on a kitchen scale and weigh the ingredients in this order: water, starter, salt, olive oil, sucanat, and finally the freshly milled flour. Place your bowl on the stand mixer and using either the hook or a flat mixing paddle, mix at the slowest speed until all the ingredients are combined with no dry spots. Allow this mixture to rest for a minimum of 10 minutes, up to an hour.
Step 2 – Knead the Dough
Using your dough hook, begin the kneading process at a medium-low speed. You will see your dough go through three distinct phases. At first it will pull together quite nicely and you might be tempted to think you’re almost done already. Don’t be deceived; your dough has more development to do! In the second stage, your dough will begin to stick to the bottom and it will stay this way for several minutes. Trust the process and keep kneading. The third stage begins when your dough begins to look smoother and starts to lift up off the bottom of the bowl.
The third stage is complete when your dough is smooth in appearance, is no longer sticking to the bowl, and has built up a lot of tension. For me, this whole process typically takes about 9-10 minutes max. If you’re getting close to 8-9 minutes and your dough is showing no signs of building up some tension and is very slack to the touch (reach in and grab it with wet hands to test this out), you may want to consider adding some flour. Do this about 1/4 cup at a time.
Step 3 – Overnight Bulk Fermentation
I discovered over this past year that I could drastically reduce the amount of starter I was using and proof my dough overnight, so that I could just attend to it first thing in the morning. Starting bread before bed and baking in the morning fit much better with my schedule than what I had been doing before. When temperatures are warmer (our kitchen hangs around 75-76 degrees in summer) I needed only 25g of active sourdough starter for one loaf of bread. When temperatures were cooler (our kitchen is about 67-68 in winter) I needed 50g per loaf to get a decent rise by morning. Having a thermometer is your kitchen can be helpful, but you can also just go by how things feel. Summer means less starter and Winter means more. You’ll learn what works best in your own kitchen. Bulk ferment until DOUBLED.
Step 4 -Shape your Dough
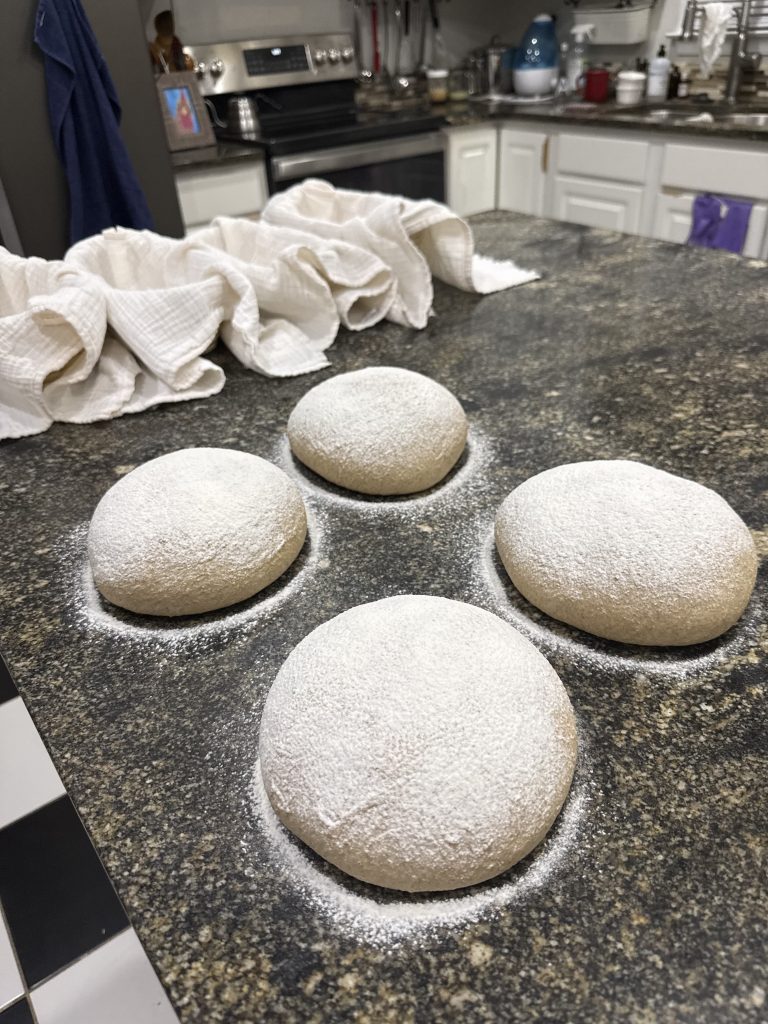
There are about 1 million videos on youtube on how to shape your sourdough bread and ultimately you will find what works for you. I personally start by wetting my left hand from a bowl of water, grabbing the dough on one side with one hand, lifting it up in the air a bit, and sort of slapping it down and folding it over itself. Repeat this process a couple of times until the dough has a bit of tension in it and is roundish in shape.
I then take my dough scraper and shape it into a tension roll on the counter. After sprinkling and rubbing some flour on top of the dough to keep it from sticking to my proofing container, I use my dough scraper to push the dough into a oval like shape, lift it up, and plop it into a proofing basket that has been lined with a towel.
Step 5 – Final Proof
I do this two different ways. I proof my bread on the counter for 1.5 hours *or* place it in the fridge to proof for 3 hours. If the dough is very slack, proofing in the fridge is best. If the dough is more of a medium strength, I feel comfortable proofing it on the counter for 1.5 hours.
Step 6 – Bake
I have found 40 minutes is the minimum for preheating my dutch oven to get the results I want. I preheat my oven at 375 degrees. When the dough is ready to go in, I turn it out onto a piece of baking parchment paper and score right down the middle with a single sided razor. Nothing fancy most days. I place this loaf into my preheated dutch oven, put the lid back on, and then bake for approximately 40-45 minutes, or until an inserted instant read thermometer reads 200 degrees in the center.
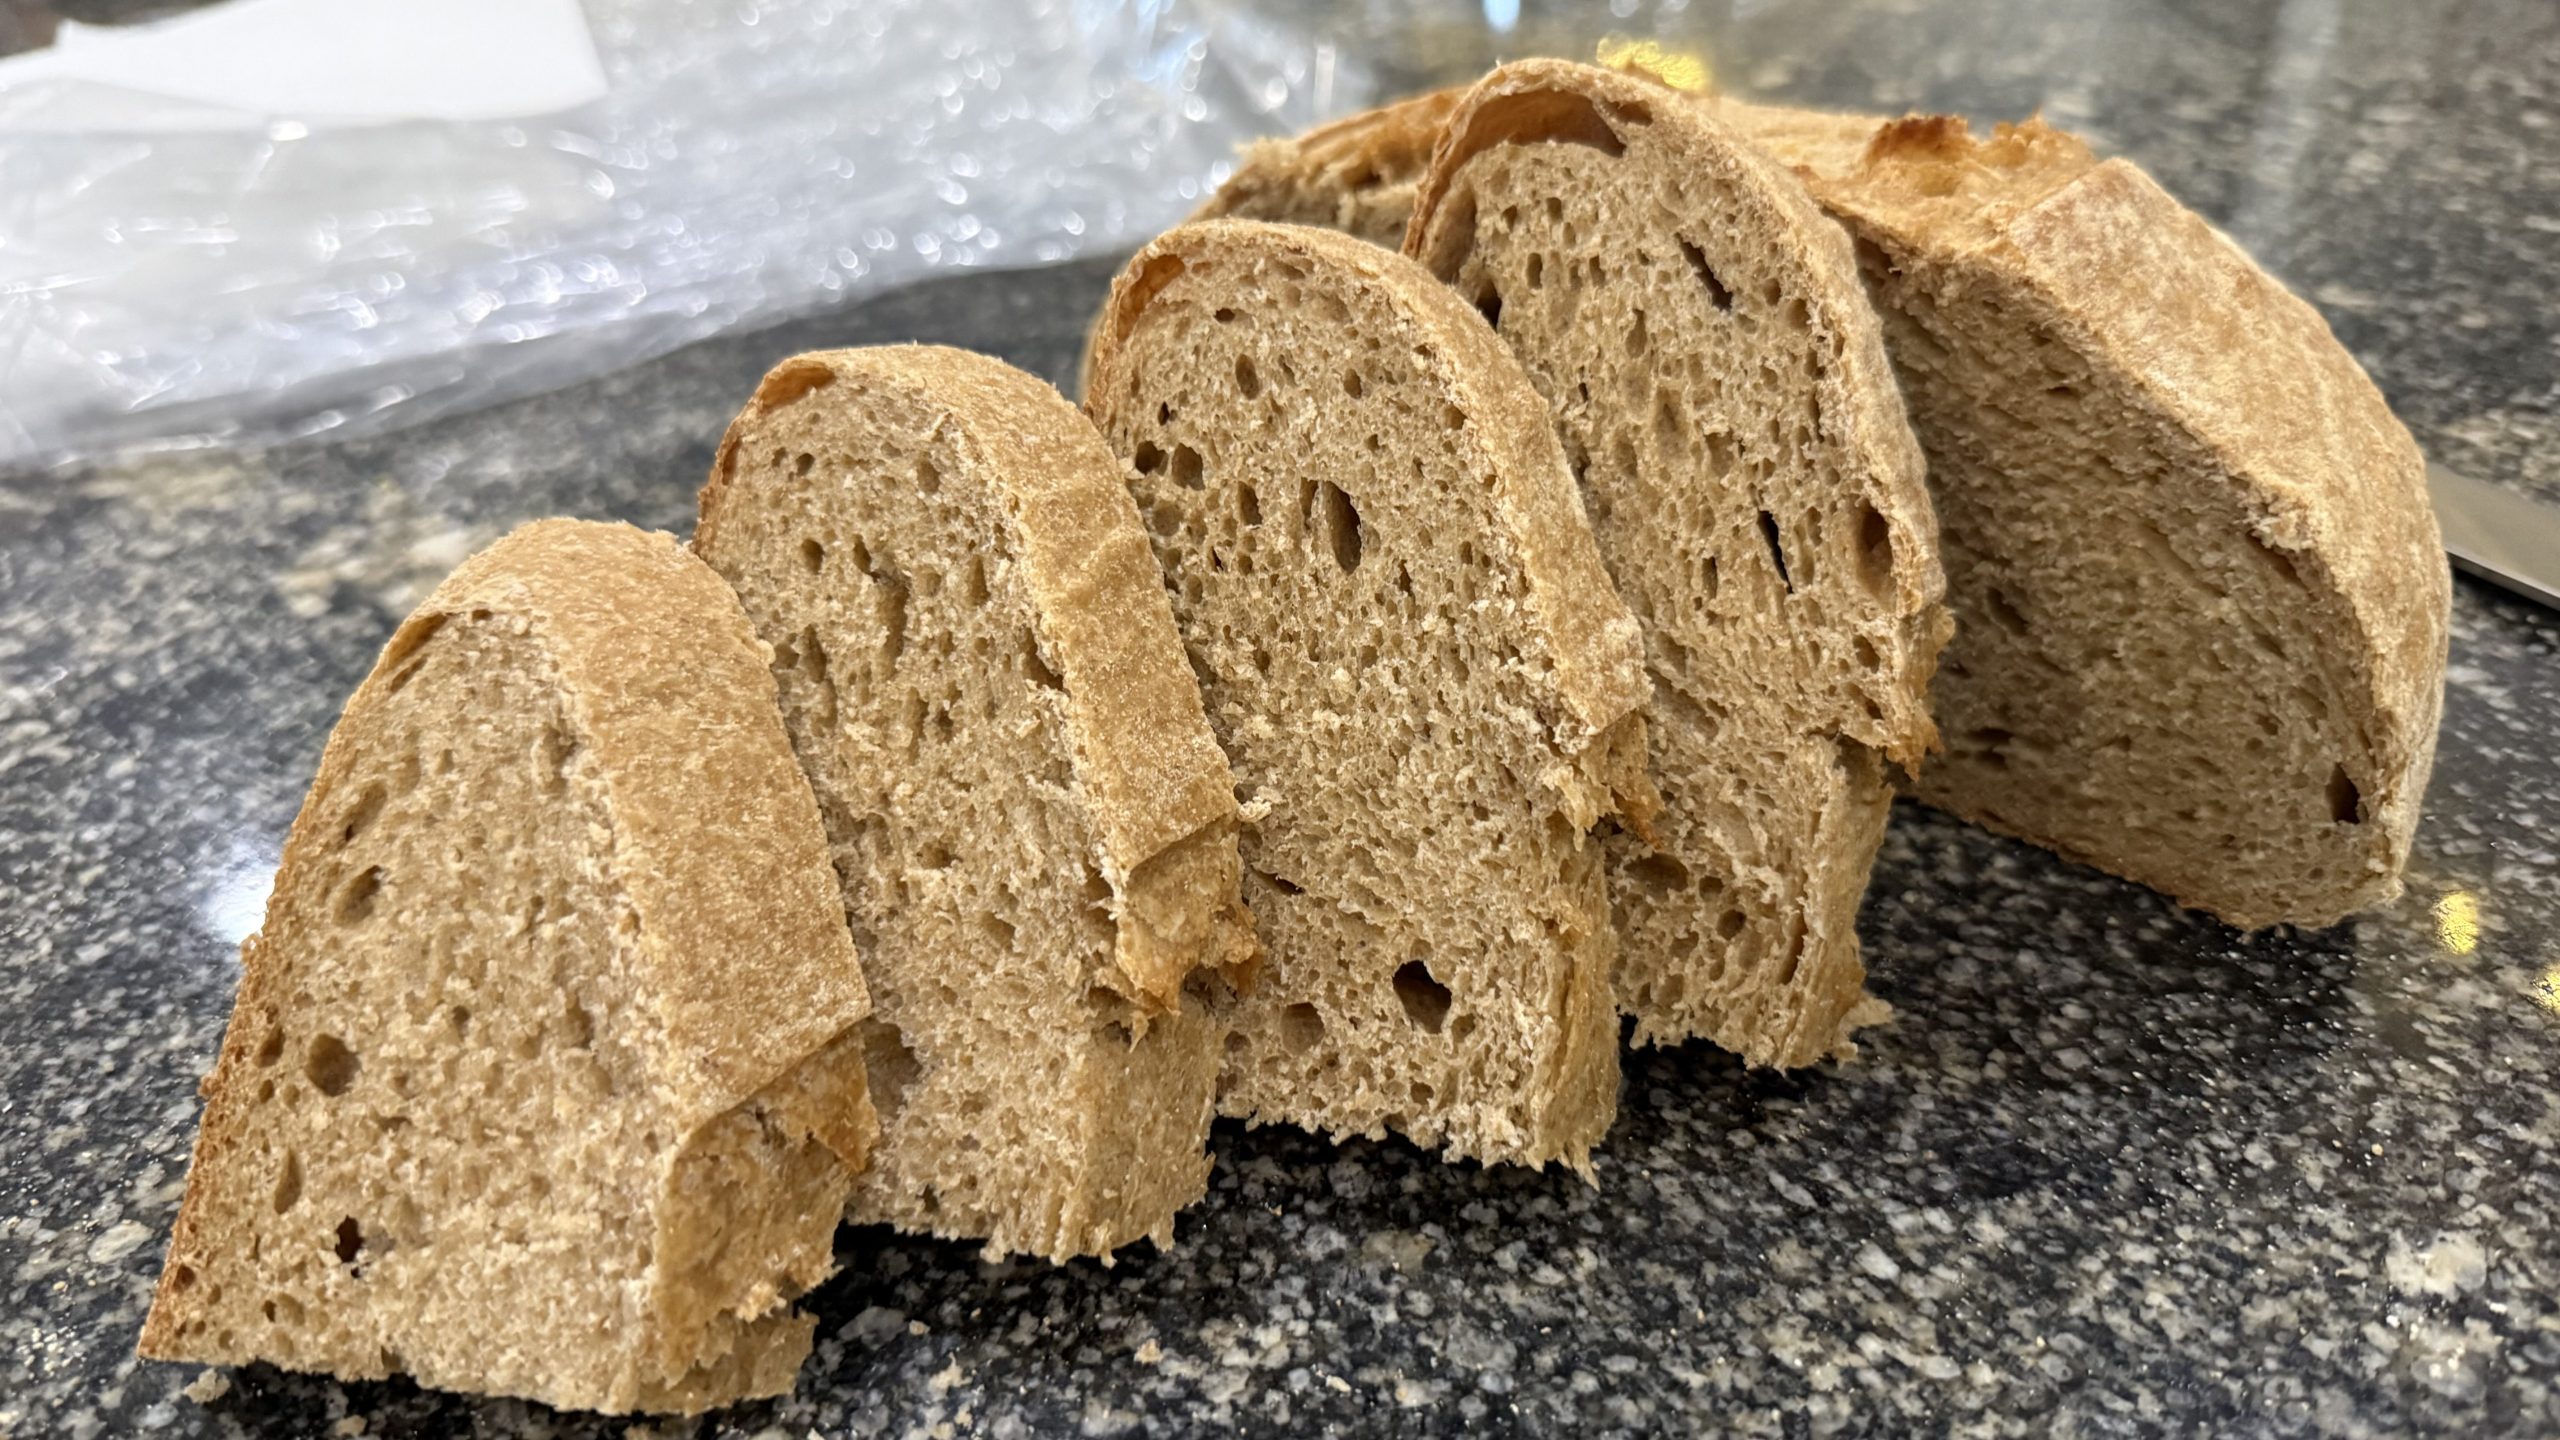
If you’re new to baking with freshly milled flour, don’t overthink it—just start. This is a forgiving, everyday loaf that fits into real life, and it only gets better as you learn what works in your own kitchen. This is the loaf I reach for when feeding both my family and friends, and I hope it serves your table just as well as it has mine.
Spelt & Rye Sandwich Bread

This fresh milled sourdough bread is soft, mild, and perfect for everyday use. Made with spelt, rye, and hard white wheat, it’s a nourishing loaf that fits easily into a busy schedule with an overnight proof.
Ingredients
- 100g Fresh Milled Rye
- 200g Fresh Milled Spelt
- 200g Fresh Milled Hard White Wheat
- 400g Water
- 50g Olive Oil
- 25g Sucanat (or Cane Sugar)
- 25-50g Active Sourdough Starter (see notes below in step 3 about the amount to use and why)
- 12g of salt
Instructions
- Mix Dough
Combine water, starter, salt, olive oil, and sucanat. Add flour and mix until no dry spots remain. Rest 10–60 minutes. - Knead
Knead on medium-low speed until smooth and elastic, about 8–10 minutes. Dough should release from the bowl and feel slightly tacky. - Bulk Fermentation (Overnight)
Cover and let dough rise on the counter overnight (8–12 hours). Use less starter in warm temps, more in cooler temps. - Shape
Shape into a round or oval loaf, creating surface tension. Place into a floured, towel-lined proofing basket. - Final Proof
Proof 1.5 hours at room temperature or 3 hours in the fridge, depending on dough strength. - Bake
Preheat oven and Dutch oven to 375°F for at least 40 minutes. Turn dough onto parchment, score, and bake covered 40–45 minutes, until internal temp reaches 200°F.
Instructions
Notes
Nutrition Information:
Yield:
20Serving Size:
50Amount Per Serving: Calories: 125Total Fat: 2.5gCarbohydrates: 18gFiber: 3gProtein: 4g

Hi! I’m Christina. I’m mama to 13 and grandma to two. With a toddler still underfoot, I’m in the thick of life just like you! My two top passions at the moment are baking with fresh milled flour and giving my children a positive homeschooling experience. Sprinkle in marriage, coffee, a small homestead, and life is overflowing! Learn more…
This bread recipe has revolutionized my sourdough experience! It is so good! I’m in Florida and we have a fairly hot house so bulk ferment with other recipes I used (I only use fresh milled flour) required a lot of dough watching. Since I am in and out a lot because of outside homestead type work I was having trouble and worried about bulk fermentation timing. I didn’t know about cutting way down on the starter amount to allow for an overnite countertop bulk fermentation! I used the 25 grams of starter both times. Why didn’t I think about that!
The one thing I’m seeing is that my dough is really wet and wondering if that’s due to my particular grains combined with Florida being a high humidity area? It’s hard to shape it. I did one using a cloth cover but that resulted in a tough skin on the dough. Can I reduce the water or maybe the olive oil without a problem?
We love the flavor and texture of this bread!! It’s a winner Christina
Cynthia, thank you so much for taking the time to leave such a thoughtful comment! I’m so glad the recipe has been working well for you. Using a smaller amount of starter for a long overnight bulk ferment was a game changer for me too—it makes sourdough so much easier to fit around real life.
And yes, you can absolutely reduce the water a bit. Fresh-milled flour can vary quite a lot from one grain or batch to another, and your warm, humid Florida environment may also make the dough feel softer and stickier. I would try holding back about 25–50 grams of the water next time and see how the dough feels. You can always add a little more if it seems too stiff. I’d leave the olive oil alone at first, since it contributes so much to the softness and texture of the finished bread.
For covering the dough, I’ve also found that cloth can allow the surface to dry out and form that tough skin. A lid, plate, reusable bowl cover, or even plastic wrap works much better for keeping the dough from drying out during a long ferment.
Thank you again for your kind words. It makes me so happy to hear that your family loves the flavor and texture—and I love knowing the recipe is making sourdough a little easier to manage alongside all that homestead work!
Thank you for the response Christina! We LOVE this bread! So glad I found your blog. Will be visiting often and learning from you as well as referring others who are struggling to learn to work with fresh milled grain. I started seriously making my own bread at the beginning of the virus years and decided I wanted to buy a grain mill. It’s definitely been a learning curve to swap to fresh milled grain. But I will never go back!
May God bless and prosper your amazing flock of humans😊
PS I forgot to say that I was almost afraid to try this bread because I don’t have a dough mixer. But I decided to try anyway and just spent 10 minutes slapping it around the sides of my bowl. I used a plastic cover the second time. And the dough doubled in size overnite. It just was very hard to shape. But if this one bakes and tastes as good as the first one…..it WILL be eaten …oven spring or not😂
Cynthia, this makes me so happy to hear! I’m so glad you’re enjoying the bread and that the recipe is working well for you. Fresh-milled grain definitely has a learning curve, but once you get used to working with it, it’s hard to imagine going back.
And you absolutely do not need a mixer to make it! Before I got my ZACME 8-qt mixer, I used to make my large batches of pizza dough completely by hand. Heavy mixing isn’t always necessary, either. On days when life is too busy for a long mixing session, a series of stretch-and-folds can work beautifully—just give the dough a stretch and fold about every 10–15 minutes for roughly an hour.
I’m so glad you decided to try it anyway and that it’s working for you. Thank you so much for your kind words about the blog and for sharing it with others. That truly means a lot to me.
And I completely agree—oven spring or not, if it tastes good, it WILL be eaten! 😂
May God bless you and your bread-baking adventures as well!